Getting started
How to get into the portal.
Whether you're bringing your choir into the portal or joining your choir: choose what applies to you.
Step 1: Create account
Everyone in the choir has their own account. You need one too before you start a choir.
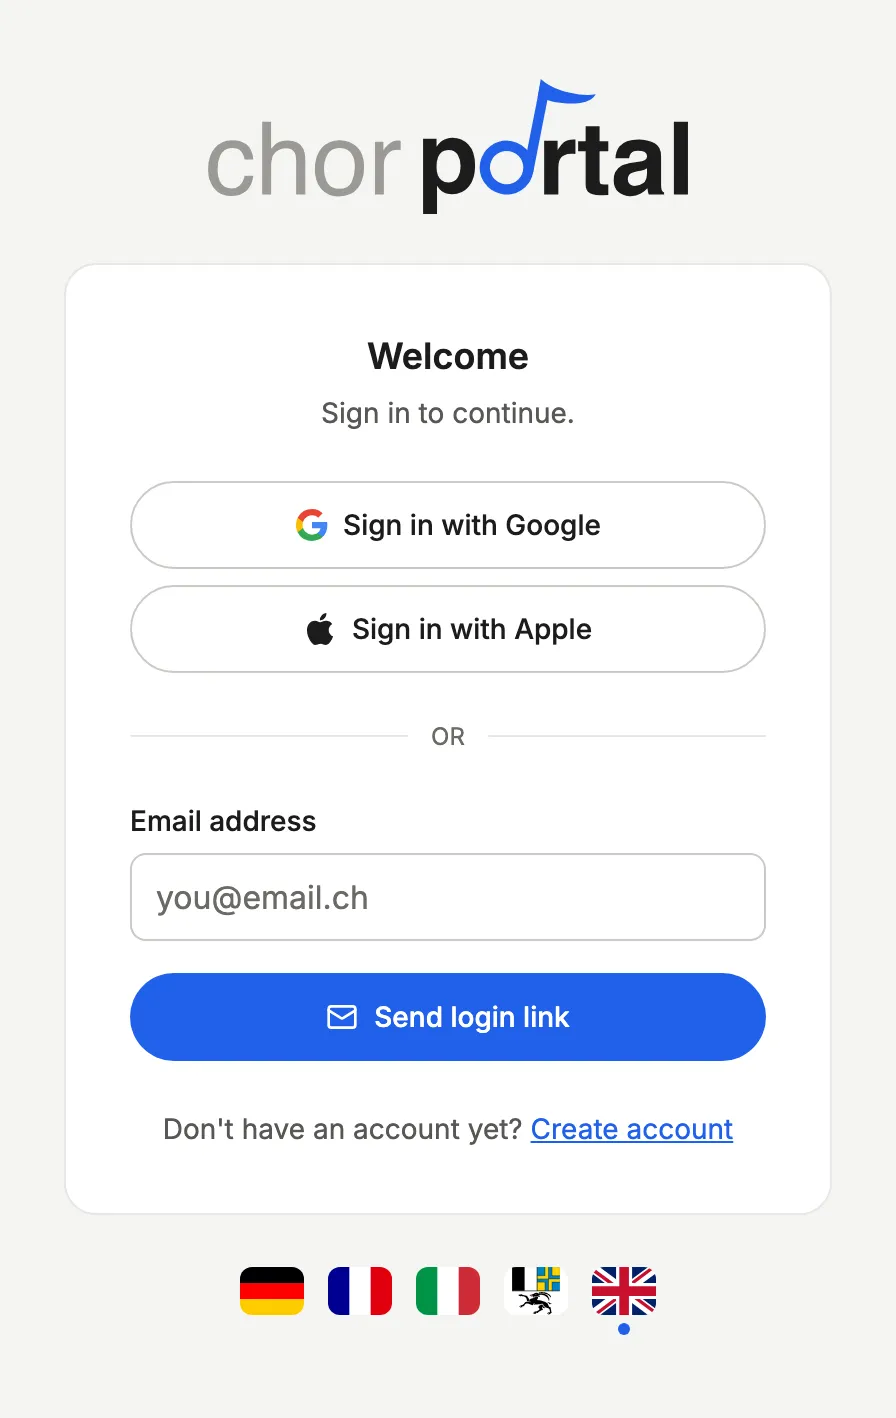
- Open the portal and choose “Create account”.
- Enter your name and email address. We'll send you a link to confirm the address.
- Add your date of birth, address and phone number. Details on diet and public transport pass help later when planning events.
- Read the privacy policy and finish with “Create account”.
No password needed. Once signed in, you stay signed in on your device. Only if you log out, use another device or haven't been back for a very long time do we simply send you a new sign-in link by email. Or you sign in with Google, and then you don't even need to confirm your address.
Already in another choir? Then you already have an account and just sign in. One account is enough for all your choirs.
Step 2: Start the choir
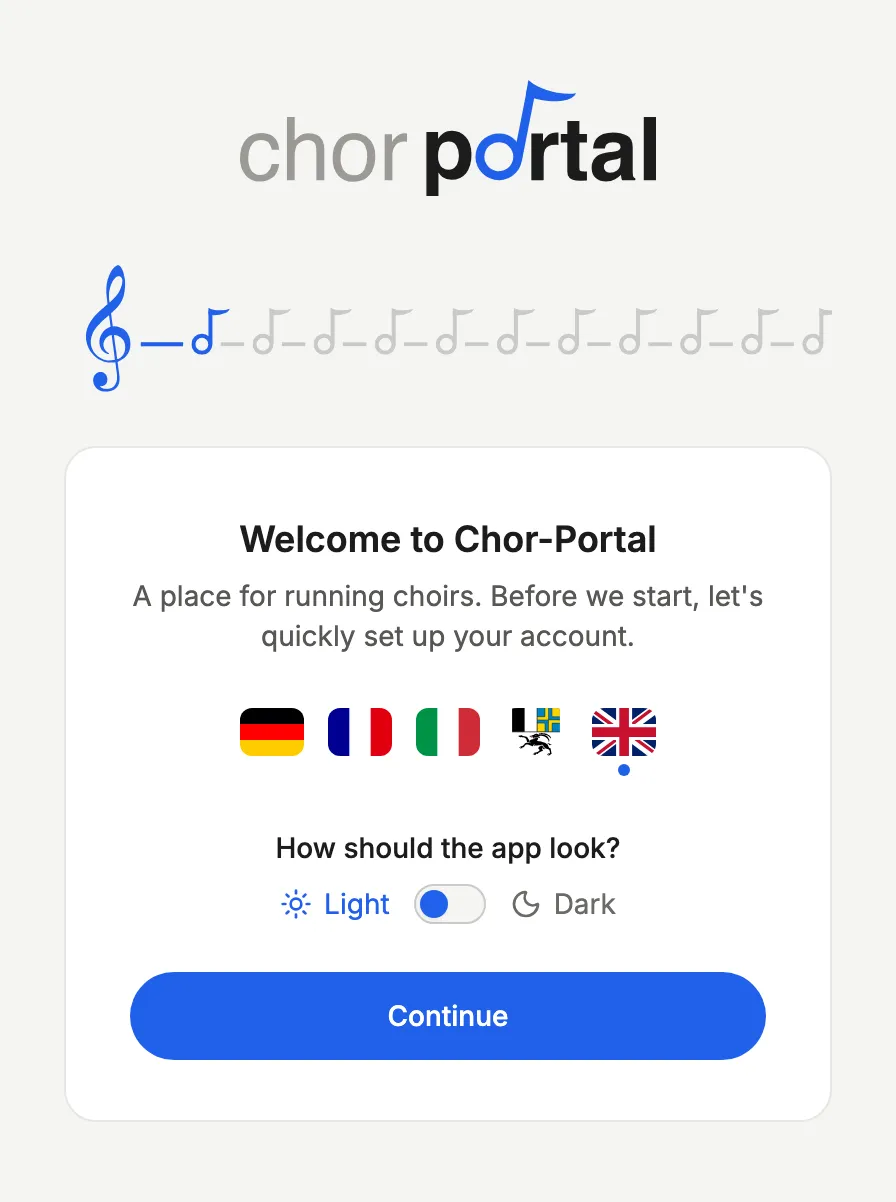
After signing in you land on “My choirs”. At the bottom left is “Start a choir”. Then we ask step by step:
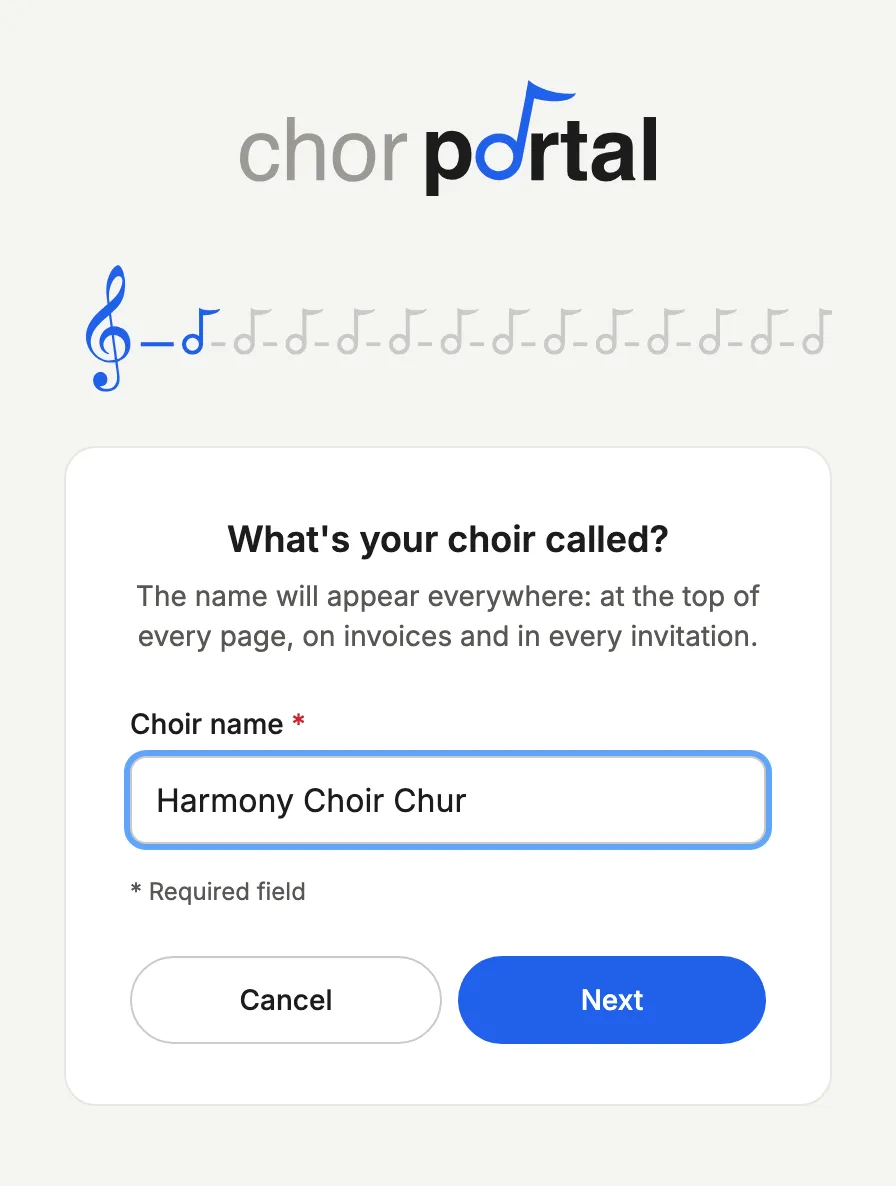
- Name, description, year founded and kind of choir.
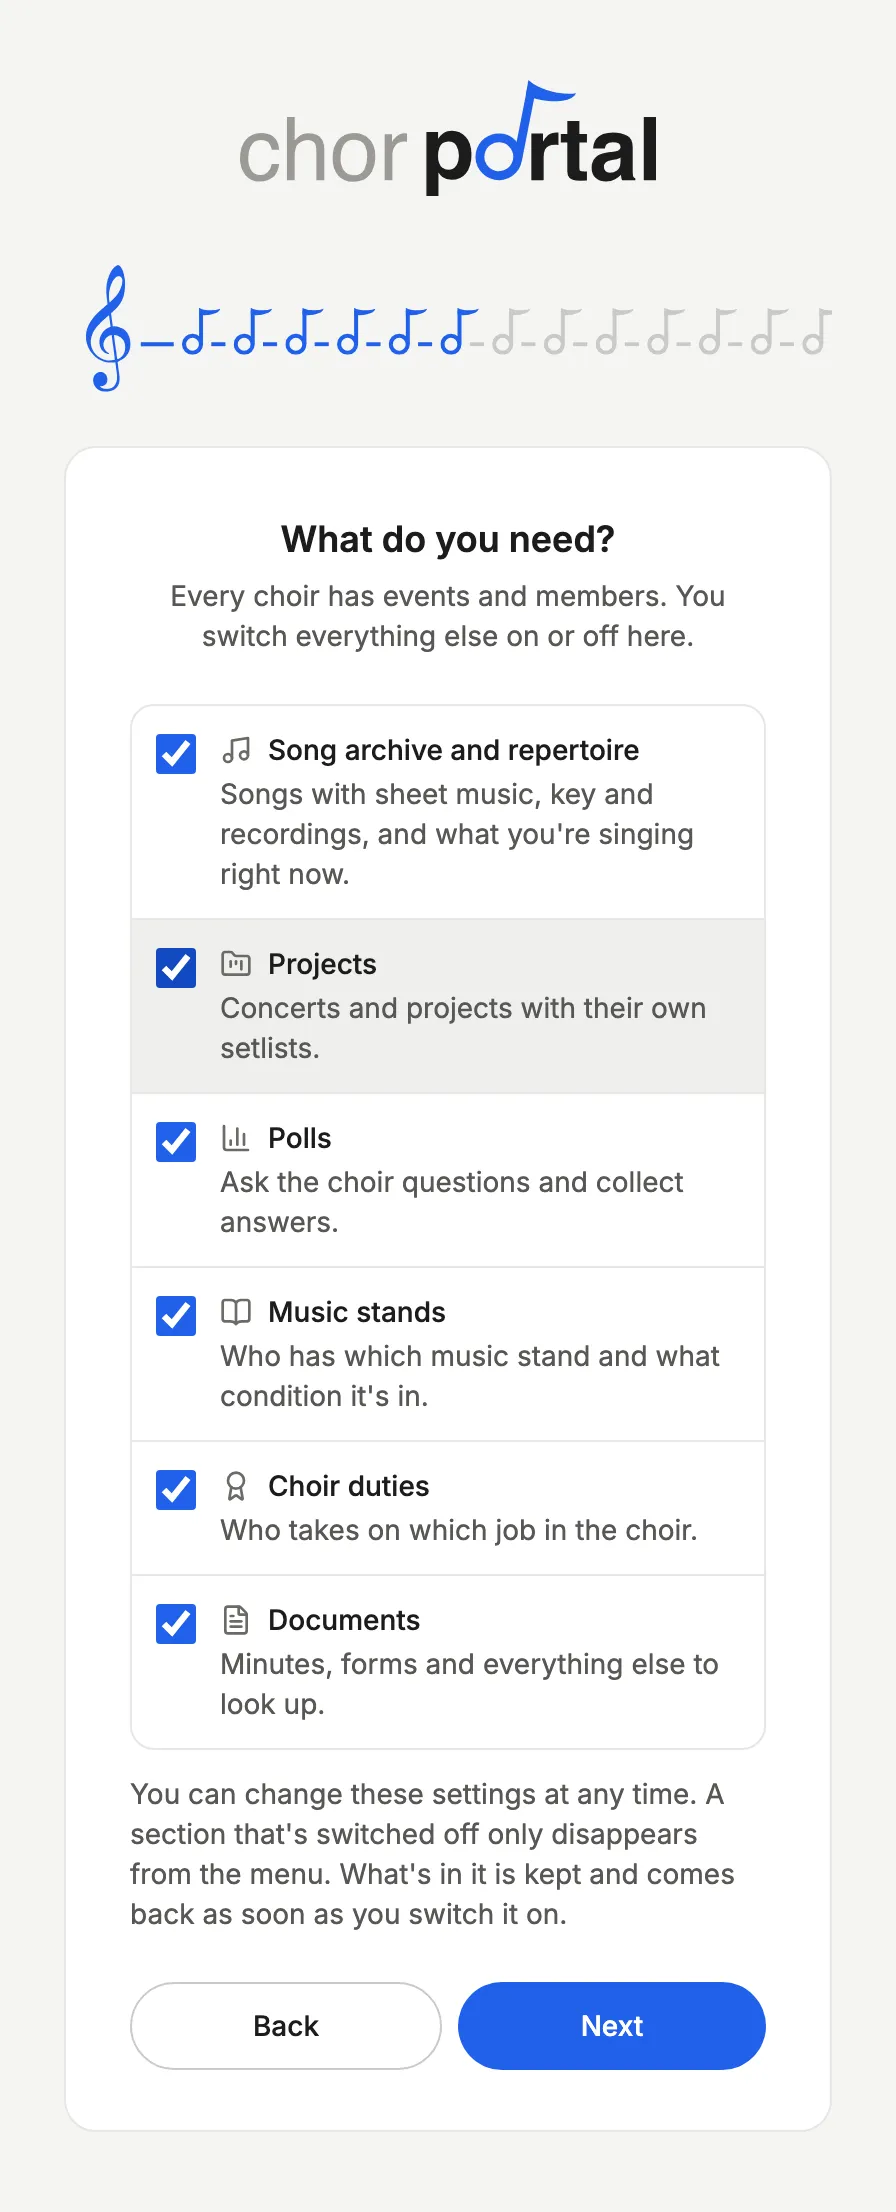
- Which sections you need, for example song archive, projects or polls. Every choir has events and members.
- Your logo, if you already have one.
- What the choir costs and how much storage is included.
- Which roles you take on: you become the owner and contact person and get all rights.
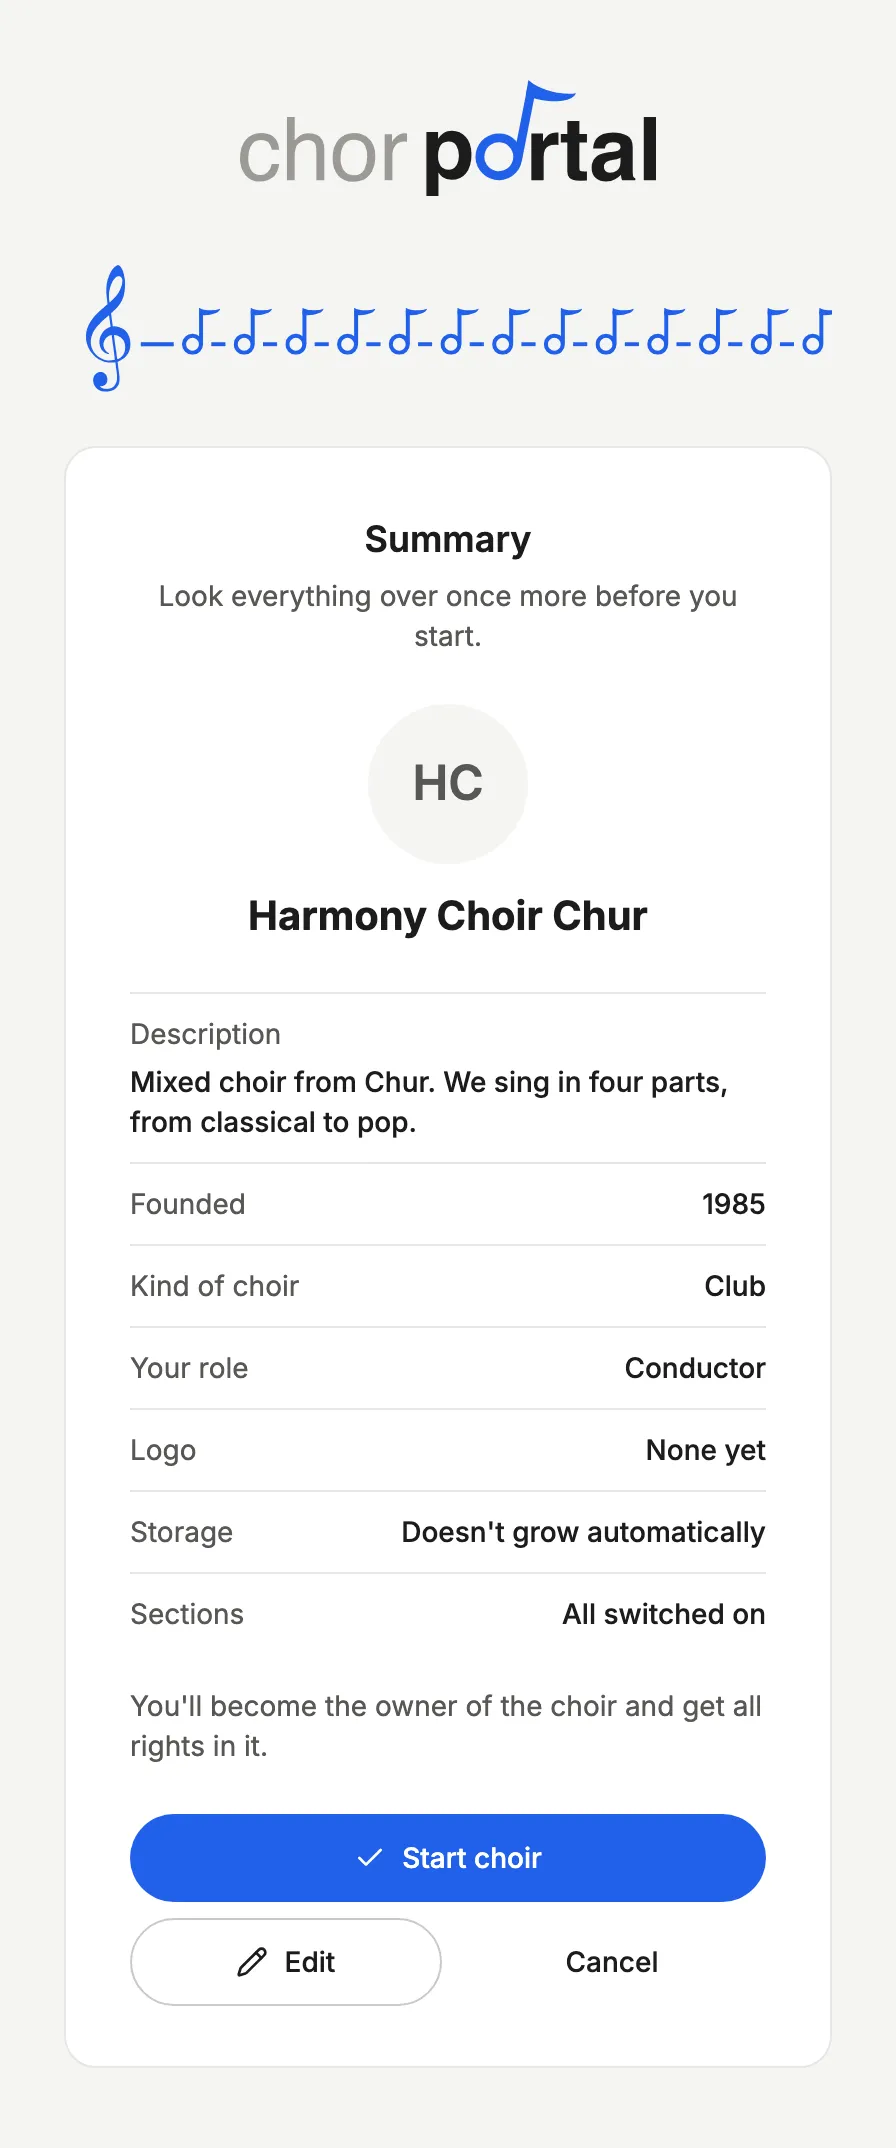
- Finally the privacy policy for your choir and a summary. With “Start choir”, your choir is there.
None of this is final. You can change or pass on name, sections, logo and roles later in the choir settings.
3 months free. You can use everything and pay nothing. After that it continues automatically as paid. If you don't want to stay, delete the choir before the end, and no invoice is issued.
Step 3: Invite members
Under “Members” you'll find “Invite people”. There are several ways into the choir, and you can use them at the same time.
Whoever is invited creates their own account. It's best to send people the link to this page too: under “I want to join my choir” it explains how.
By email
Collect the addresses and send all invitations at once. People find the invitation under “My choirs” after signing in.
With the invitation link
Share the link in the chat, by email or on paper. Whoever opens it asks to join, and you accept them.
With a QR code
At the invitation link you open it with “Open QR code”. Show it on the projector or save it as an image to print. Anyone who scans it with their phone gets straight to your choir.
Done!
Your choir is on the portal. As soon as the first members have joined, you all see the same events, songs and polls.
What next?
Three things that make the start easier.
Bring in your events
Already have the year's plan in a calendar? Under “Share” you import it instead of typing everything out.
Bring in your songs
Your existing song list comes into the portal in the song archive under “Import & export”.
Share out the tasks
Under “Permissions” you decide who may manage what in the choir, for example events or invoices.
Ready? Start with your account.
The first 3 months are free for your choir.
Step 1: Get an invitation
You can only get into a choir with an invitation. That way the choir makes sure only members see the events and contact details.
Nothing yet? Ask the committee or the conductor for the invitation link.
An invitation link
You might get it in the chat, by email or on a slip of paper at rehearsal. It leads straight to your choir.
An invitation by email
Then the choir has entered your email address. The invitation waits for you in the portal as soon as you sign in with that address.
A QR code
On paper or on the projector? Scan it with your phone's camera, and you land straight at your choir.
Step 2: Create account
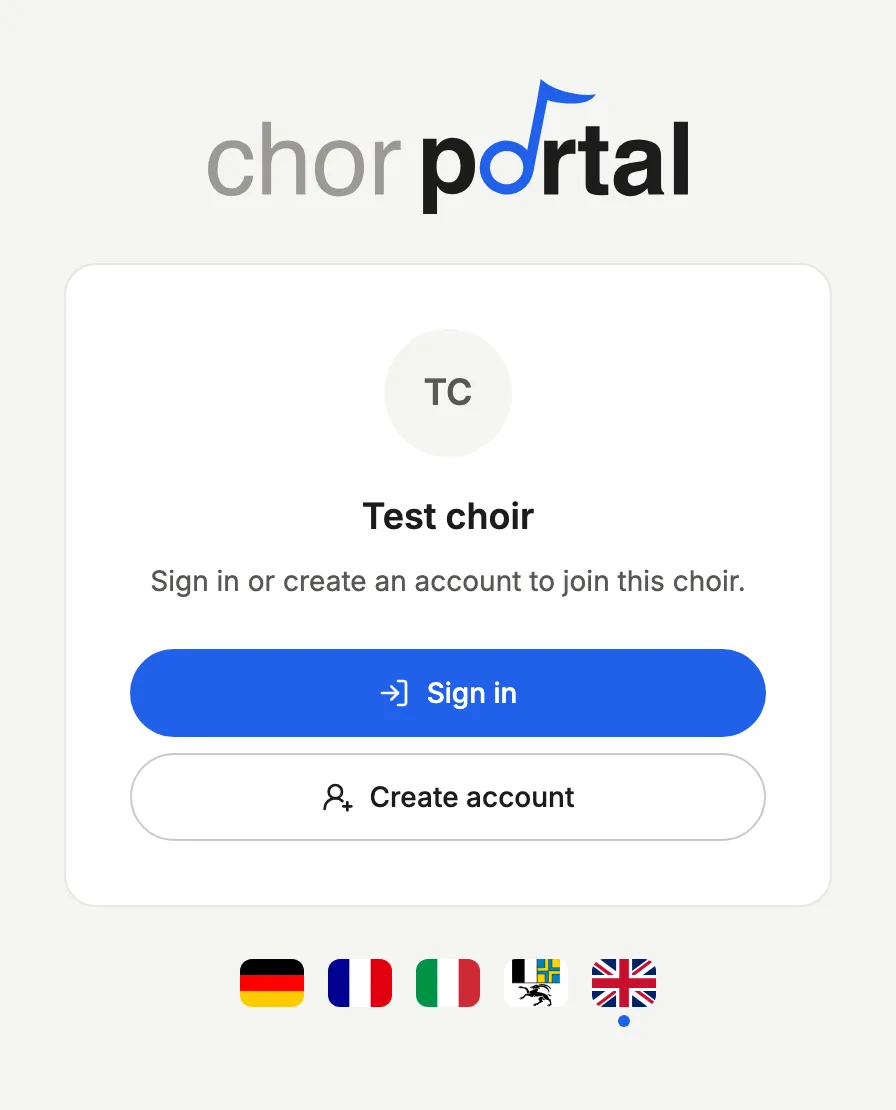
Open the invitation link and choose “Create account”. If you were invited by email, start on the sign-in page with “Create account”.
Your account is free. The choir pays for the subscription.
- Enter your name and email address. We'll send you a link to confirm the address.
- Add your date of birth, address and phone number. Details on diet and public transport pass help later when planning events.
- Read the privacy policy and finish with “Create account”.
No password needed. Once signed in, you stay signed in on your device. Only if you log out, use another device or haven't been back for a very long time do we simply send you a new sign-in link by email. Or you sign in with Google.
Under 18? Then you also give the email address of a parent or guardian.
The order doesn't matter. You can also create your account first and open the invitation link later. If you already have an account, for example from another choir, you just sign in.
Step 3: Join the choir
What happens next depends on how you were invited.
In several choirs? No problem: with one account you can be in all your choirs, and it still costs you nothing. Under “My choirs” you switch between them.
With the link or QR code
- After signing in, the portal takes you back to the choir. If not, just open the link or scan the code again.
- Choose “Ask to join”.
- As soon as someone from the choir approves you, you'll get an email. You don't need to keep the page open.
With the invitation by email
- Sign in with the address the invitation went to.
- Under “My choirs” it says “You've been invited”.
- Choose “Join”, and you're in.
Done!
You're in your choir. From now on you see its events, songs and polls, just like everyone else in the choir.
What next?
What you'll need most often in everyday choir life.
Say when you can't come
Can't make a rehearsal? Under “Events” you let them know with “Report absence”.
Answer polls
You'll find open polls under “Polls”. Answering takes just a few clicks.
Find songs and sheet music
What's being rehearsed right now is in the repertoire. Sheet music and recordings are in the song archive.